How to Manage Projects in Google Workspace
Best practices for project managers who work with Google tools


Being a project manager takes a lot of work!
Whatever project you’re tackling, big or small, you need a system to help make sure you (and your team!) stay on top of everything. And if you’re all in on Google, you need that system to work seamlessly with your Google tools.
I’ve been there.
In 2021 GQueues got a new user interface. As a user, I was thrilled. The new design was spacious, bright, and came with improvements that made it more intuitive. And I had just gotten reading glasses for the first time, so I was especially pumped about the larger font 🤓
As the person in charge of making sure all of our help documentation accurately explains how to use GQueues…not so much. That meant it wasn’t just an undertaking for our development team. It was also a daunting project for us in Customer Care. Not only would it mean retaking all the screenshots, but we also took the opportunity to completely rethink the purpose of our help articles. Instead of just listing out how GQueues works, we wanted to make it easier for folks to understand why these features would be useful, and how to make GQueues work for them.
This meant I had to manage and coordinate all of this work with the rest of the Customer Care Team:
- Check all existing content was covered in the new documentation
- Add in the new functionality
- Rewrite the articles to make them user-focused
- Update all the screenshots and gifs
- Figure out a new organizational structure for our articles
- Migrate everything into our new Help Center
Whew!
With the right tool, we completed the work ahead of schedule. (Keep reading to learn how!)
Does Google Workspace have a project management tool?
Alas, Google Workspace doesn’t come with a specific tool for project management. They do have some helpful suggestions for how to put various Workspace tools together to keep projects moving. But their main tip to update and keep track of projects is to use Google Sheets.
Now if you’re a computer wiz, maybe it’ll be easy for you to figure out how to make dynamic project plans and combine a bunch of different charts together. But…
- Will the rest of your team be able to follow along?
- Do you need to get notified when progress is made?
- Do collaborators need to be notified when a task is assigned to them?
- Do you want to be able to check in on progress without manually sorting through the data or setting up complex tables?
If any of those questions rang a little alarm bell in your head, you probably need a different tool to track project progress.
Manage projects with GQueues
GQueues makes it easy to manage projects, big or small. By taking advantage of Teams, you can easily keep track of what stage of the project you’re in, as can collaborators and key stakeholders.
When it came time for me to coordinate our Help Docs Migration, I could have tried using Google Sheets. I consider myself pretty tech savvy, but admittedly it would have taken me some time to get everything organized. Even though I felt confident in my Google Sheets abilities, it just didn’t make sense to spend hours setting up all those complex spreadsheets when we already had a tool at our disposal that would do everything we needed.
So let’s get into it! Here’s how to set up your work in GQueues to seamlessly coordinate projects with your team in Google Workspace.
Create a team for your project
Teams in GQueues are the core to any project. You can create several layers of organization within teams and adjust the settings for any of your needs. Give the team a name that makes sense for your project, and get rolling!
Set up the team’s organization
Every project needs a clear way to track how it’s going. You need to set your milestones and break them down into manageable chunks so you can make accurate estimates on your team’s time and resources.
Break your teams down into separate sections (called “queues” in the app) so everything has a place. You might have one for the overall timeline, and other queues for the related tasks to be tackled, organized by theme. Think budget, content, client presentations.
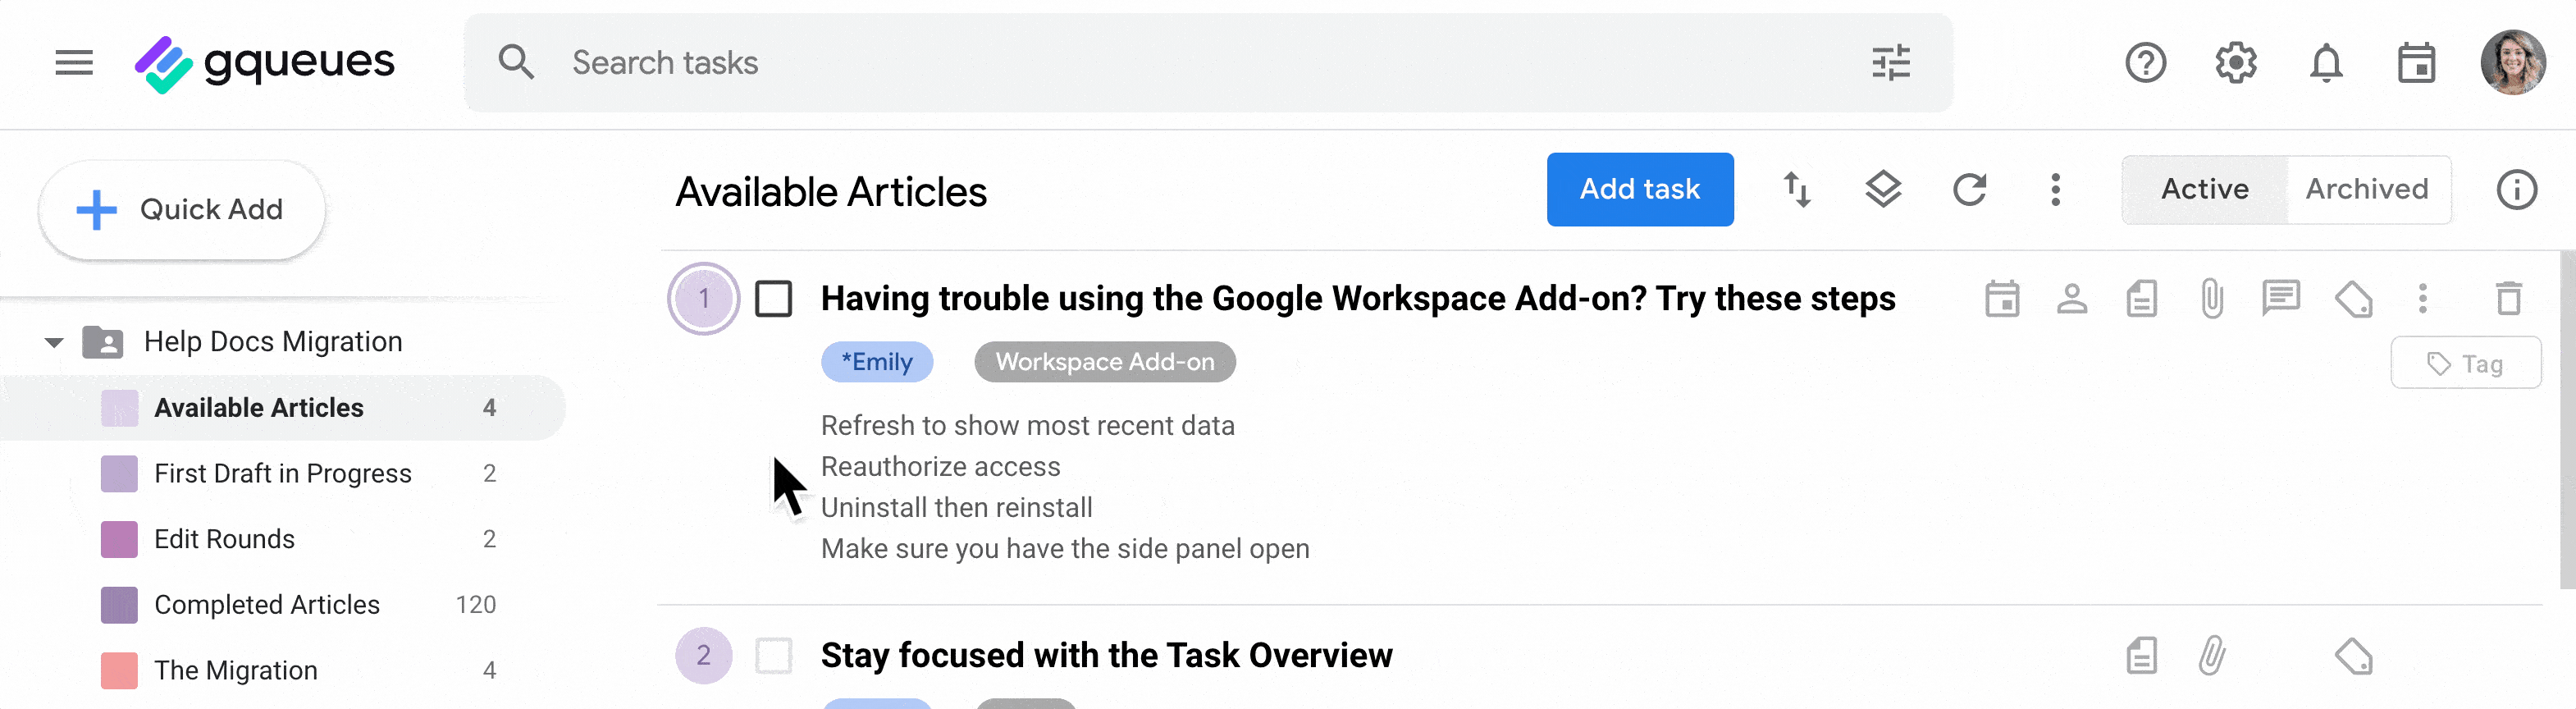
If you have a project that’ll have similar tasks being moved through several stages, like a migration or the editing process for content, make each section a stage. This is the setup we used for the Help Doc Migration. Each article was a task, and then we'd move it through stages: sign up, first draft, edit, complete. So Jordan chose an available article and moved it to the first draft section to work on. Then she’d drag and drop it to the edit section when she was done. Assign it to Emily for review. Emily makes comments and assigns it back to Jordan to edit. Rinse and repeat until it’s complete. ✅
However you organize your Team, the simple layout means everyone on the project will be able to follow along. No complicated tables required. You just need to be able to look in the Team to see where things stand.
Create action items
Once you have the structure set up, it’s time to start adding tasks! The key here is to add any and all information that will be needed to complete the task.
Does it need to reference the budget? Attach the budget file. (GQueues will automatically update sharing permissions in the background so everyone in the team can access it. 😉) Need more space to clarify what it actually entails? Add it to the notes. Due dates, tags, and comments can all add extra context to the task.
Yes, technically you can do this in Google Sheets. You can always add more columns right? But it gets messy fast. Especially if you need to reference other files. Best case scenario: Everything lives in Google Drive and you flawlessly copy and paste the correct links to the right cells. Practically inevitable scenario: You paste a filename to the wrong task and can’t easily tell because it’s just gobbledy-gook. Or the task needs files that don’t live in Google Drive (no link). So you use other means to make sure the person in charge of that work has all the information they need. Let’s be real, it’ll probably be through email which may or may not really get to them, depending on how crowded their inbox is.
Having this information neatly organized all on the task increases the likelihood it'll get done correctly. The first time.
For the Help Docs Migration, each article that needed to be written was a task. We used the notes to summarize the info that should be covered and then tagged them to indicate the general areas of the product they were on. Then we’d attach the Google Doc for the new article to the task and use assignments to indicate whose hands it was in for the edit cycle. Easy peasy.

Add collaborators to your team
Once everything is organized the way you’d like, add anyone (literally anyone) to the team who needs to be kept in the loop. Of course you’ll want to include the folks doing the actual work, or in charge or reviewing and approving it. But you should also consider adding in key stakeholders who need updates on the project progress. Of course you can still do weekly email summaries or whatever other types of communication you’re used to. But this way your coworkers are also empowered to check in on progress themselves and access whatever information they need.
Set permission levels for team members
When you add your team members, you can choose from 6 different member roles to make sure you’re giving folks as much freedom as they need to get their work done, while also reducing the risk someone might accidentally make a change in an area they’re not qualified for.
Google Sheets gives you 3 permission options:
- View only
- Commenter
- Full edit access
Maybe that’s all you need. But it basically means if anyone needs to complete any task, they’re also getting full reign to edit everything else in the document. Even when assuming good intentions, sometimes that can just be too risky for mistakes to happen. Teams in GQueues give you more flexibility with 6 different permission levels:
- Viewers can see what’s going on, but can’t interact with it.
- Commenters can view and make comments on existing tasks.
- Completers can mark tasks complete, but aren’t able to make changes or add new tasks.
- Collaborators can view, comment, complete, and have full edit access for tasks.
- Managers have full access to interact with tasks and sections within the team.
- The Owner will be you as the person who created the team. You have access to all of the above, plus the team settings.
For the Help Doc Migration at GQueues, I added the other members of the Customer Care team as Managers. Really they could have gotten by with just collaborator access, but we’ve built a solid foundation of trust and there are only a few of us, so in general we make everyone managers for our shared teams.


Monitor project progress
Once you’ve built out the project, all that’s left is to do it! Yes, this can be easier said than done. And that goes double when you need to monitor everyone else’s work to make sure you’re on track to meet project milestones…which is a crucial part of a project manager’s job. You need to delegate the work out, then focus your attention on managing the people who get the work done. GQueues makes that process way better.
See what’s on deck
You can always take a peak in the Team in GQueues to get an update of where things stand. It’s really pretty easy to understand. When it came to managing the Help Docs Migration, it was oh, so sweet to be able to just look at the Team in the left hand panel and see the number of articles to write tick down.

But it’s also useful to see what’s on the docket in the apps that you’re already in the habit of checking daily. That’s where Google Calendar syncing comes in.
Just a quick adjustment in the Team settings, and you get a new calendar in Google Cal that’s just for work that needs to be done for this project. And the best part? GQueues does all the sharing for you. It adds the calendar to your account…and all team members’ (whether they’re already on the team or added later). That means it’s just one click to create a shared calendar where the whole team can see what’s on the schedule for the project this week.
Get notified about progress
You can also get regular updates about how things are going. By default, all users are notified by email and in the web app whenever a task is assigned to them. No special tagging required. It just happens. So you can delegate away and know people will get the memo.
You can also adjust your own settings so you’re notified when those tasks get completed. This can even be customized from one section to another. So crucial to make sure you’re not inadvertently left out of the loop, and also aren’t overwhelmed by notification chatter.
Schedule a group meeting using the best Doodle alternative
In addition to staying up to date on progress using GQueues, it can be important to schedule a group meeting from time to time to clear any blockers members of your team are facing. Nothing beats a face-to-face check-in for getting everyone unstuck. But when you have a project team of three or more people, trying to find a time when everyone is available to meet can go sideways quickly. If you're emailing back and forth to try to pick a time, it can end up taking much longer to schedule the meeting than the meeting itself will last!
Group meeting poll tools solve this problem. You've probably heard of Doodle, which is a popular choice — but has become less suitable for professional situations since they added ads to their voting pages. If you want to make a better impression on colleagues with an ad-free Doodle alternative, try Boomerang's Meeting Poll. In addition to being completely ad-free, it's easy for guests because it doesn't require any new accounts or logins. Plus, we love that it's integrated right inside your email, so you don't need to interrupt your workflow to schedule your group meeting.
Upgrade your project management
Google Workspace is awesome in so many ways. If you’re into collaboration and transparency, it’s definitely the way to go. But it does have this gap in accessible functionality when it comes to project management. GQueues fills in that gap. Start your free trial to upgrade your Google project management today.


I love chatting with our users! When I'm not answering questions about GQueues, I keep our Help Center up-to-date, make tutorial videos, and write our newsletter. My favorite dogs are basset hounds.


Related posts

.jpg)
.jpg)
Prioritize your way to peace of mind
